Home > Program Administrator User Manual > 8 Import/Export > 8.5 Exporting Data
8.5 Exporting Data
As Program Administrator, you have the ability to
export child, caregiver, and screening data in a comma separated value (CSV)
format, which can be opened in Microsoft
Excel and imported into other data management systems.
Export options
include:
- Child
Profile Data, including demographic information, custom fields, and child
notes.
- Caregiver
Profile Data, including demographic information, custom fields, and child
notes.
- ASQ-3,
ASQ:SE, and ASQ:SE-2 screening data, including raw scores, cutoff
scores, and individual item
responses.
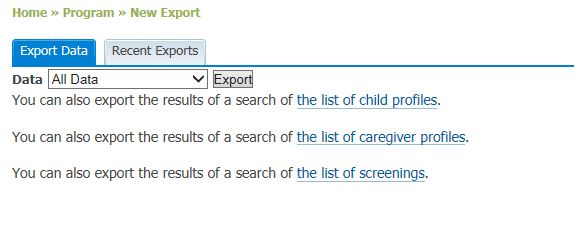
Once a file has been exported it will available
8.5.1
Export Options
As Program Administrator, you can choose one of the
following options when exporting data:
- All:
Selecting this option will export all data, including the Child Profile
with associated Caregiver Profiles, Child Profile notes, Caregiver Profile
notes, and all associated screenings for the child records selected. Any
custom fields for the Child and Caregiver Profiles are also included in
the export.
- Child Profile Data Only: This option will export the Child Profile only
(demographic information and any associated custom fields) for the child
records selected.
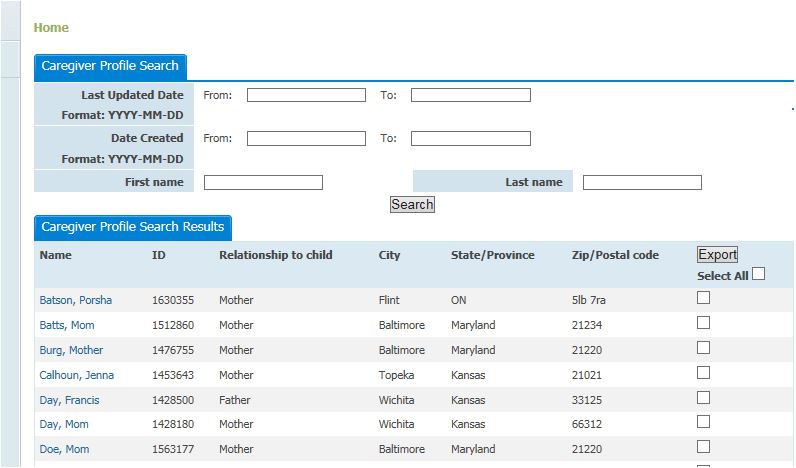
- Caregiver Data Only: Selecting this option will export the Caregiver
Profile only (demographic information and any associated custom fields)
for the child records selected.
- Screening Data Only: This option will export all ASQ-3/ASQ:SE/ASQ:SE-2
screenings, including the raw scores, cutoff scores, and responses to the
individual items for the child records selected.
When you export data,
the CSV files will be compressed into a zip file. Once you have saved the file
to your computer you can extract (or “unzip”) the individual export files.
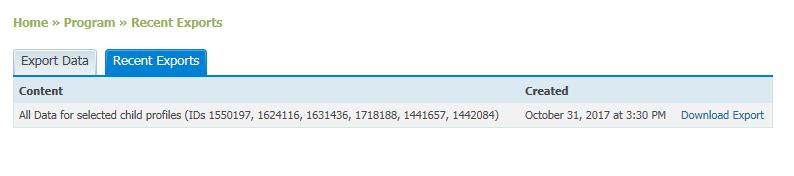
After an export has been completed it will be available under the Recent Exports tab for approximately two weeks.
Tip: Use the Export Quick Reference Guide in Section 7.6.2 to find which export
options will best suit your needs.
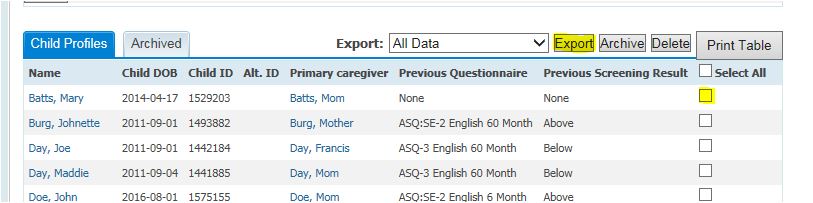
8.5.2 Exporting Multiple Child Records
To export one or more
child records from ASQ Online, or your entire program:
- Select Child Profiles from the top
navigation menu.
- From the
“Export” drop-down menu, select whether you want to export: “All,” “Child
Profile Data Only,” “Caregiver Data Only,” or “Screening Data Only.”
- Select the
Child Profiles you would like to export by clicking the check box next to
the names of the children you will be exporting.
- To select
all children on the current page, put a check mark in the “Select All”
check box.
- To select
all children within your program, put a check mark in the “Entire
Program” check box.
- Click the Export button.
- A pop-up
box will appear, prompting you to either open or save the file. The export
file will be in a zip file format. Click the Save button to save the file to your computer.
- To extract
the zip file, open the zip file you have saved to your computer. Included
in the file will be separate files for each export option you selected.
The exported files can be opened in Microsoft Excel, or a similar program.
8.5.3
Export an Individual Child Record
To export an individual child’s record:
- Select Child Profiles from the top
navigation menu.
- Select the
name of the child whose records you would like to export, to go to their Child Profile page.
- Select the
export option from the “Export” drop-down menu in the top right corner of
the page. Your options are: “All,” “Child Profile Data Only,” “Caregiver
Data Only,” or “Screening Data Only.”
OR
- Select the Export Child Data Quick Link. A pop-up box will appear, with an “Export” drop-down menu.
- Select the export option from the drop-down menu.
- Click the Export button.
- A display window will appear. When the download export link appears, click on it to open the export. To view the zip file, click to open the file indicated by the blue arrow. Included in the file will be separate files for each export option you selected. The exported files can be opened in Microsoft Excel, or a similar program.
8.5.4 Export an Individual Questionnaire from a Child Profile
As Program Administrator, you also have the ability to export individual
questionnaires from a child record. The export will consist of the child and
caregiver information, the raw scores, the cutoff scores, and the individual
responses for the questionnaire items; essentially, all of the information that
is available on the print questionnaire.
To export an individual questionnaire from a child
record:
- Select Child Profiles from the top
navigation menu.
- Select the
name of the child whose questionnaire you would like to export, to go to
their Child Profile page.
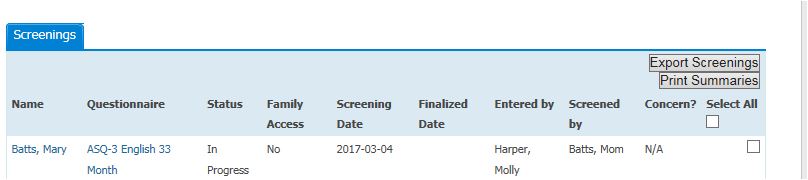
- On their Child Profile page, scroll down to
the Child Screenings section. Click the Export link next to the name of the questionnaire you would
like to export.
See also