Home > Program Administrator User Manual > 11 Family Access > 11.3 Creating a Family Access Landing Page
11.3 Creating a Family Access Landing Page
You can create a Family Access landing page for any of
the questionnaire types you have in your ASQ Online program: ASQ-3 English,
ASQ-3 Spanish, ASQ:SE-2 English, and ASQ:SE-2
Spanish.
To create the Family
Access landing page:
- Select Family Access from the top
navigation menu.
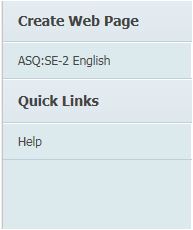
- On the
left-hand side of the page, under “Create Web Page” select the
questionnaire type for your Family Access page.
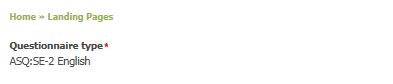
- Questionnaire type: At the top of the page, you will see the
questionnaire type that you have selected for this Family Access page. You
can preview the intro text for the questionnaire type by clicking the
“preview the intro text” link. This information is standard and cannot be
deleted. It provides a brief overview of ASQ, as written by the authors. If you do not wish to include the intro text then uncheck the box next to "Display intro text on the landing page".

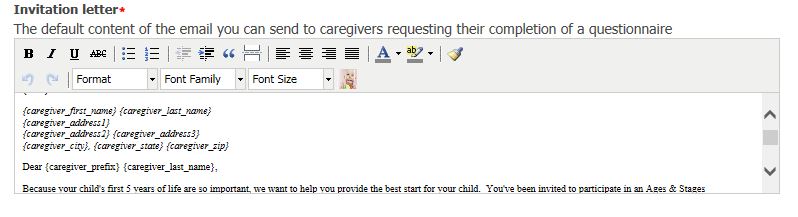
- Invitation letter: The invitation letter is a letter that can be
emailed or mailed to parents and caregivers that includes the Family
Access URL and requests their completion of the questionnaire. This field
will be populated with the default text provided by ASQ Online, but you
may edit it as you see fit. (NOTE:
This letter will not appear on your Family Access landing page, and must
be sent by you to the caregivers. For more information, see Section 10.6 Invitation Letter with
URL.)
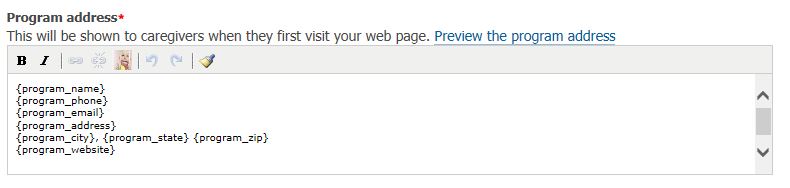
- Program address: In the “Program address” field, you’ll notice by
default it is populated with dynamic content of your program information.
This information is pulled directly from your program’s profile. You can
edit and customize the program address information so that caregiver’s
will only see the program address information you wish for them to see.
- Type in
the box whatever program address information you want included on your
landing page. You can also use the dynamic content by clicking the icon
of the baby, and selecting the content from the drop-down menu. The
dynamic content available includes the program name, address, city,
state, zip, phone, and website.
- To
preview how the program address will look on your landing page, click the
Preview the program address link.
- Welcome message: Enter your welcome message into the “Welcome
message” field. This is the message that will be shown to caregivers when
they first visit your web page. It should be a sentence or two that
welcomes the caregiver to your program and explains why you are soliciting
screening information for your program online.

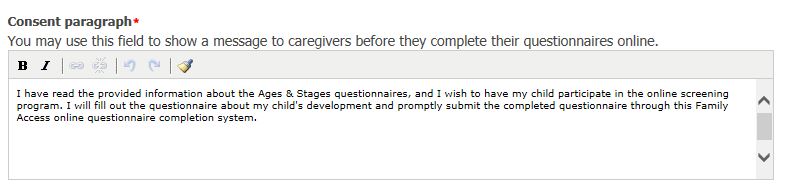
- Consent paragraph: In the “Consent paragraph” field, you may paste
the text from your program’s consent form or else write your own message
regarding caregiver consent. The caregiver will be required to provide his
or her consent electronically before using Family Access.
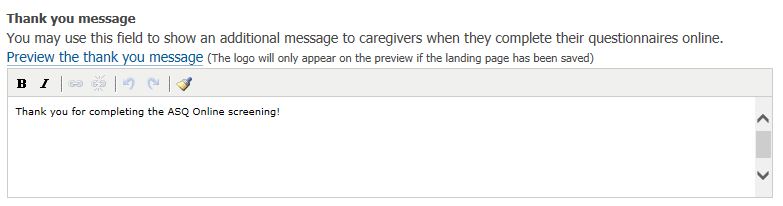
- Thank you message: In the “Thank you message” field, enter an
optional “Thank You” message. Examples of things you may want to include
here are: your contact information, a statement about how and/or when you
will contact the caregiver to share the child’s results, and links to
resources that may be of interest to the caregiver.
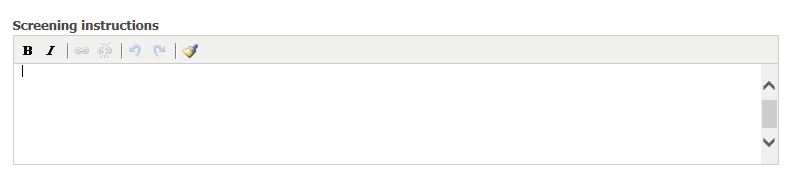
- Screening
instructions: This is an optional field that is used to provide additional
information to caregivers on the page where they have the option to print
out the questionnaires or enter the results of the screening.
- Thank you
page packet: You can include one of the system or program packets for the
caregiver who enters the screening to access via a viewable or
downloadable PDF file.

- Caregivers
will click on the link for additional information or resources. Select the
packet you wish to include from the dropdown menu. When it is added to the
Thank You page the link will say “Click here to print additional
information”. When a packet has been selected you are able to click on
“Preview Packet” to see what the caregiver will see when they access the
link. You will also have to select whether the packet is generated for the
child’s current interval or next interval.
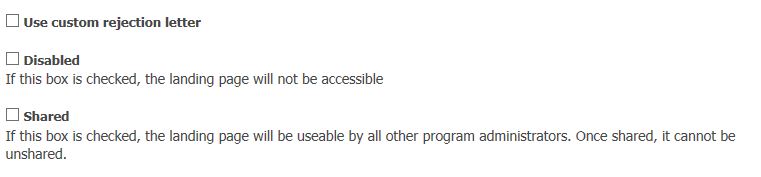
- Use Custom
Rejection Letter: For screenings that have been submitted by a caregiver
but are not able to be accepted by the program, a rejection letter will be
sent to caregivers who have provided an e-mail address. If you click in
the box a “Rejection letter” section will appear where you can edit the
rejection letter for caregivers who submit a questionnaire while accessing
that URL.
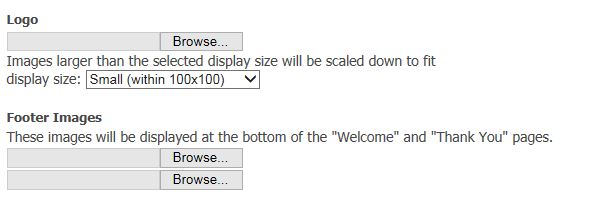
- Logo: If
you wish for your program’s logo to appear at the top of the landing page,
you may upload it here, by clicking the Browse… button and selecting the
image from your computer.
- You can
change the logo’s display size by selecting either Small (within
100x100); Medium (within 300x300); or Large (within 760x300) from the
drop-down menu.
- Footer
Images: You can select two additional images to appear at the bottom of
the “Welcome” and “Thank You” pages. To upload these images, click the
Browse… button, and select the images from your computer.
- Click the
Create button at the bottom of the page.
11.3.1
Formatting Your Landing Page
You have the ability to separate paragraphs and bold
and italicize the text on your Family Access landing page. The invitation
letter, program address, welcome message, consent paragraph, and thank you
message sections all have bold and italicize buttons for you to format the text
of each field.
11.3.2 Adding Hyperlinks
You can insert a hyperlink or website address into the program address,
welcome message, consent paragraph, and thank you message fields on your Family
Access landing page, that caregivers can click on to be directed to a website
of your choosing. A hyperlink is text that, when clicked, directs you to a
webpage. An example of a hyperlink would be: “Click here to return to our
program’s main page.” When the caregiver clicks that line of text, they are
directed to the program’s main page.
To add a hyperlink:
- Select Family Access from the top
navigation menu.
- If you
have already created your Family Access landing page, click the Edit link to the right of the
Family Access URL. (If you haven’t created the landing page yet, see Section 10.3 Creating a Family Access
Landing Page.)
- Within the
field you wish to insert the hyperlink, type the text that you want the
hyperlink to have.
- Highlight
the text and click the link (
 )
icon.
)
icon.
- Enter the
URL of the link in the “Link URL” field.
- Select
whether this link will open in the current browser window or a new browser
window, from the “Target” drop-down menu.
- In the
“Title “field, enter what you would like the link to be called when the
caregiver hovers over the link with their mouse.
- Click the Insert button.
11.3.3
Editing & Removing Hyperlinks
You can edit any hyperlink you have entered, or you
can remove (or “unlink”) the hyperlink entirely.
To edit the
hyperlink:
- Select Family Access from the top
navigation menu,
- Click the Edit link to the right of the
Family Access URL.
- Within the
field where you wish to edit the hyperlink, highlight the text of the
hyperlink and click the link (
 )
icon.
)
icon.
- Make any
changes to the hyperlink fields that you wish to make.
- Click the Insert button.
To remove (or
“unlink”) a hyperlink entirely:
- Select Family Access from the top
navigation menu.
- Click the Edit link to the right of the
Family Access URL.
- Within the
field where you wish to remove the hyperlink, highlight the text of the
hyperlink.
- Click the
unlink (
 )
icon.
)
icon.
- The
hyperlink will be removed.
11.3.4
Disabling the Landing Page
If you wish to turn off the ability for caregivers to
access your Family Access page and enter questionnaire data for their children,
but don’t want to delete your Family Access page altogether, you can disable
the page. Disabling your page prevents anyone from accessing it.
To disable your
Family Access landing page:
- Select Family Access from the top
navigation menu.
- Click the Edit link to the right of the
Family Access URL.
- Scroll
down the page to where it says “Disabled.” Put a checkmark in the box.
- Click the Update button.
11.3.5 Sharing the Landing Page
If you are an Enterprise Program Administrator, you can share your Family
Access page so that other Program Administrators can also accept or reject any
screenings that come in through that Family Access landing page. Once the
landing page is shared, it cannot be unshared.
(NOTE: This is only
applicable to Enterprise accounts, since the Pro account can only have one
Program Administrator.)
To share your Family Access landing page:
1. Select Family Access from the top navigation
menu.
2. Click the Edit link to the right of the Family
Access URL.
3. Scroll down the page
to where it says “Shared.” Put a checkmark in the box.
4. Click the Update button.
See also