Home > Program Administrator User Manual > 4 Managing Your Program > 4.7 Custom Fields (Pro account only)
4.7 Custom Fields (Pro account only)
If you are the Program Administrator for a Pro account,
you have the ability to create custom fields. A custom field is used to capture
specific data that you want included in a Child or Caregiver Profile. If there
is any child or caregiver-specific information that you want ASQ Online to
track, you can use the custom field feature to do so. Once a custom field is
created, a Provider or Program Administrator will fill out that information
when adding or editing a Child or Caregiver Profile.
Creating custom fields allows your program to track specific data that you
might find useful to report on in the future.
NOTE: Only Program Administrators of a
Pro account can create custom fields. Custom fields within an Enterprise
account are created by the Enterprise Account Administrator.
4.7.1 Adding a Custom Field
To add a custom field:
- Select Program from the top navigation
menu.
- Scroll
down to the Custom Fields tab.
- Click the Add tab next to the Custom Fields
tab.
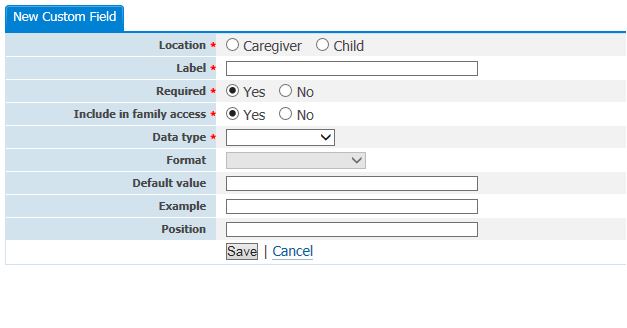
- You will
be taken to the New Custom Field page.
Fill in the following information (items marked with an asterisk [*] are
required):
- Location*
(Choose whether this field will appear on a Child or Caregiver Profile.)
- Label*
(This will be the name of the custom field.
- Required*
(Indicate whether or not you want this custom field to be a required
field within a Child or Caregiver Profile.)
- Data
Type* (Choose the type of custom field you would like. Your options are:
Text, Drop-down menu, Date, or Yes/No.)
- Format
(If you choose “Text” or “Drop-down menu” as your data type, you can
format how would like this data to be entered.) NOTE: If you are creating a drop-down menu custom field, Format
becomes a required field. You will need to enter the options that you
wish to appear in your drop-down menu. You will also need to indicate
whether you will allow users to select more than one option from the
drop-down menu, by selecting “Yes” or “No” next to “Multiple selections
allowed.”
- Default
value
- Example
- Position
5. When you have
finished entering the information, click the Save button.
4.7.2 Viewing, Editing, & Deleting a Custom Field
To view a custom field that has been
created:
- Select Program from the top navigation
menu.
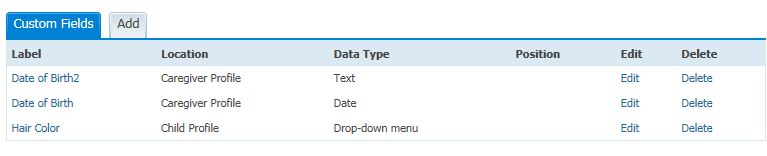
- Scroll
down to the Custom Fields tab.
- Any custom
fields that have been created will be listed here.
- Click on
the name of the label of the custom field to view the details of that
custom field.
To edit a custom field:
- Select Program from the top navigation
menu.
- Scroll
down to the Custom Fields tab.
- Click Edit next to the name of the custom
field you would like to edit.
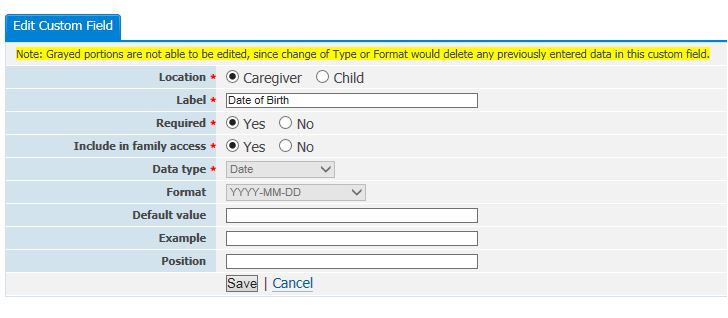
- You will
be taken to the Edit Custom Field page
where you can make your desired changes. (NOTE: Any area that is grayed out on this page cannot be edited,
since a change to that area would delete any previously entered data in
this custom field.)
- Click the Save button.
To delete a custom field:
- Select Program from the top navigation
menu.
- Scroll
down to the Custom Fields tab.
- Click Delete next to the name of the
custom field you would like to delete.
- A pop-up
message will appear saying, “By deleting a custom field, you will also be
permanently deleting all data that has been entered for a child or
caregiver pertaining to this field. Are you sure you want to delete this
custom field?”
- Click OK.
See also