5.1 Adding a Child Profile
To add a new Child Profile:
1. Select Child Profiles from the top navigation menu.
2.
Select the Add Child Profile Quick Link.
3.
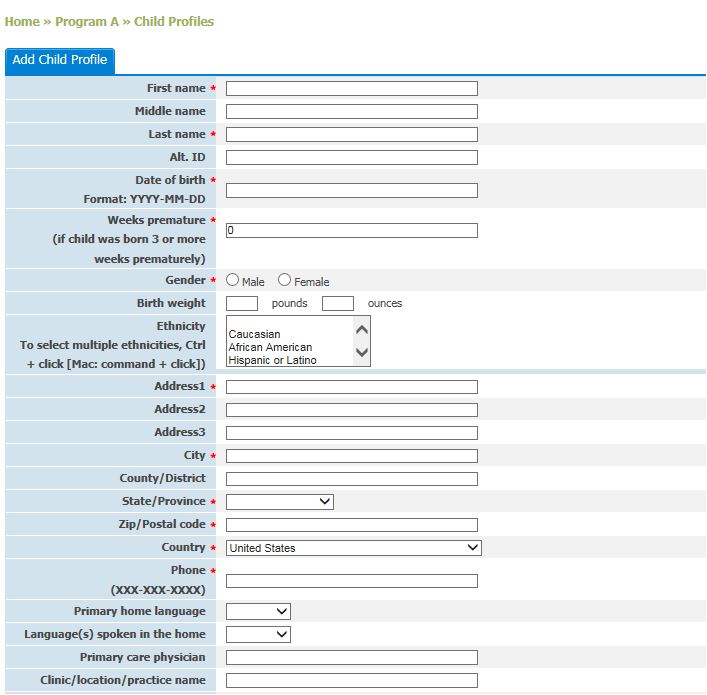
You will be directed to the Add Child Profile page. Fill out all
required fields indicated by an asterisk [*], and any additional fields:
a.
First name*
b.
Middle name
c.
Last name*
d.
Alt. ID (NOTE: The Alternate ID is an optional field. If your school or
institution requires you to track the children you serve by unique identifiers,
you may add these unique identifiers to the child’s profile.)
e.
Date of birth* (MM/DD/YYYY)
f.
Week premature* (if child was born 3
or more weeks prematurely)
g.
Gender*
h.
Birth weight
i.
Ethnicity (Choose an option from the scroll down menu. To choose more than one
option, hold the Ctrl button while clicking on the various ethnicities. For Mac
users, hold the Command button.)
j.
Address1*
k.
Address2
l.
Address3
m.
City*
n.
County/District
o.
State/Province*
p.
Zip/Postal Code*
q.
Country*
r.
Phone*
s.
Primary home language (Select an option from the drop-down menu.)
t.
Language(s) spoken in the home (Select an option from the drop-down menu.)
u.
Primary care physician
v.
Clinic/location/practice name
w.
Clinic address 1
x.
Clinic address 2
y.
Clinic address 3
z.
Clinic city
aa.
Clinic state/province
bb.
Clinic zip/postal code
cc.
Clinic phone
dd.
Clinic fax
ee.
Clinic email
ff.
Medical risk factors
gg.
Environmental risk factors
hh.
Medical conditions
ii.
Other agencies involved with the
child/family
jj.
Caregiver consent on file (By default this will be "No". If "Yes" is selected, an "Upload Consent Form" field will appear with a "Choose File" button to upload a consent form.
kk.
Date of admission to monitoring
program (This field is required if you
wish to use child’s tenure with screening preferences.)
4.
Click Save.
NOTE: If any required information
was not entered or if any information was not entered correctly, an error
message will occur. If an error message appears, make the specified corrections
and then click Save.